Quickstart
Download to first indexed query in about five minutes. No installer is required for the engine — the binaries are fully static.
Prefer a GUI and no command line at all? Skip to Prairie, which can run a local database for you with zero setup (no login, encrypted automatically).
1. Get the binaries
Download the latest release for your platform from the releases page, or build from source. Unpack the archive anywhere — you'll have bisond, bisonsh, and bisonc (with .exe on Windows).
2. Create the first admin and start the server
Authentication is on by default
Since v1.1, every connection must log in before it can run a data command, and since v1.2 the transport can run over TLS. The fastest first run is to seed an admin from an environment variable (so the password never appears on the command line), then start the server. See Security for the bootstrap-token and offline alternatives.
$env:BISONDB_ADMIN_PASSWORD = "choose-a-strong-one"
.\bisond.exe --dir data\db --init-admin adminexport BISONDB_ADMIN_PASSWORD='choose-a-strong-one'
./bisond --dir data/db --init-admin admin--init-admin creates the admin user once, on the first run with an empty database. On later runs you just start bisond --dir data\db (the user already exists). The data directory is created on first use.
You'll see the startup banner, then a listening line and structured per-request logs:
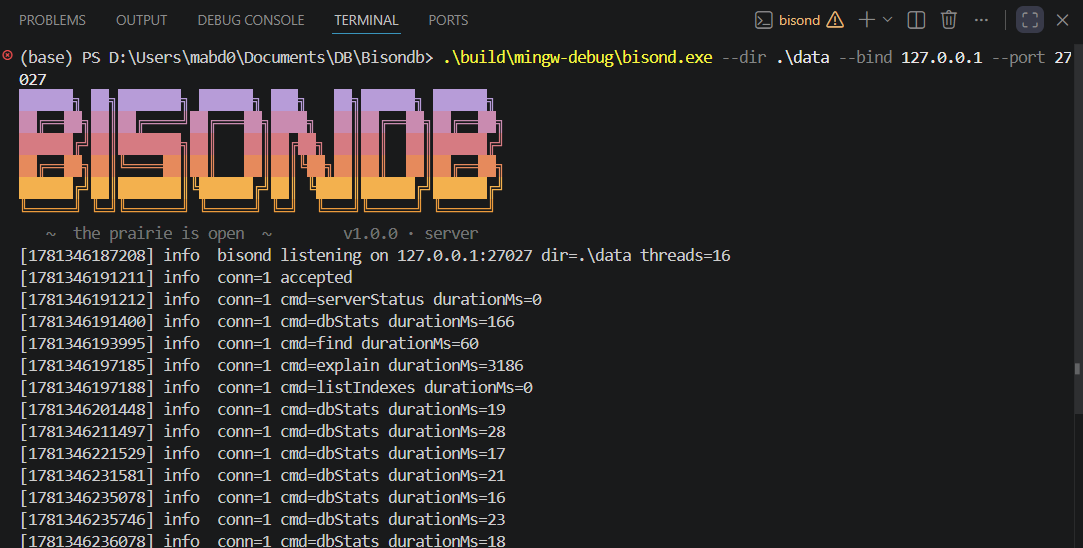
--quiet suppresses the banner and the per-request logging. Without --tls the transport is plain TCP — fine for loopback, but credentials and data travel in clear text on a network. Add TLS in step 6.
No --init-admin?
If you start bisond on an empty database without --init-admin, it enters setup mode and prints a one-time bootstrap token to stderr; create the first admin with auth bootstrap admin in the shell, or run the offline bisonc auth create-admin --dir data\db --username admin. Details on the Security page.
3. Open the shell and log in
In a second terminal, connect as the admin you just created. You'll be prompted for the password (or set BISONDB_PASSWORD first) — never pass it on the command line:
.\bisonsh.exe --username admin./bisonsh --username adminPassword: ********
BisonDB 1.2.0 @ 127.0.0.1:27027 (as admin)
type 'help' for the statement grammar
bisondb>The banner shows who you are. auth whoami confirms your roles; auth logout ends the session. Full account management (create users, reset passwords, roles) is in the shell tour and on the Security page.
4. Insert and query
The shell accepts relaxed JSON — unquoted keys, single quotes, trailing commas:
bisondb> db.people.insertMany([
...        {name: 'ada', born: 1815},
...        {name: 'grace', born: 1906},
...        {name: 'edsger', born: 1930},
...      ])
{ "insertedCount": 3, "insertedIds": [ ... ] }

bisondb> db.people.find({born: {$gt: 1900}})
{ "_id": {"$oid": "..."}, "name": "grace", "born": 1906 }
{ "_id": {"$oid": "..."}, "name": "edsger", "born": 1930 }
returned 2 in 0.4 ms
5. See the planner work
bisondb> db.people.find({born: {$gt: 1900}}).explain()
{ "plan": "scan", "docsExamined": 3, "docsReturned": 2 }

bisondb> db.people.createIndex('born')
{ "built": true, "docsIndexed": 3 }

bisondb> db.people.find({born: {$gt: 1900}}).explain()
{ "plan": "index_range", "index": "born", "docsExamined": 2, "docsReturned": 2 }
With three documents the difference is invisible; with 30,000 it is the difference between reading everything and reading only the matches. The benchmarks quantify it, and the B+Tree page explains the machinery.
6. (Optional) Turn on TLS
To encrypt the connection, generate a cert/key pair, start the server with --tls, and tell the client which cert to trust:
# Generate a self-signed cert + key (the key file is written 0600).
bisonc tls gen-cert --out-dir ./tls --cn localhost

# Start the server with TLS (first run also seeds the admin).
bisond --dir data/db --init-admin admin \
       --tls --tls-cert ./tls/cert.pem --tls-key ./tls/key.pem

# Connect, trusting that self-signed cert.
bisonsh --connect localhost:27027 --tls-ca ./tls/cert.pem --username admin
The shell banner then shows the connection as encrypted & verified. A plaintext-vs-TLS mismatch fails fast with a message telling you to add or drop --tls. The full verification matrix (system trust / CA file / fingerprint pin / insecure) is on the Security page.
Next steps
- Take the full shell tour — every statement and the
authcommands - Read the Security guide — roles, tokens, bootstrap, TLS modes
- Prefer a GUI? Install Prairie
- Browse the complete CLI reference for every flag of every tool
- Import real data:
bisonc db import data\db zips zips.bsonworks on any concatenated-BSON dump (e.g.mongodumpoutput); add--connect/--username/--tls-cato load into a running server instead